
Knowledge Base
Help Center articles
Share accounts with your team (Workspaces)
A workspace lets you share chosen accounts with a partner, a mentor or your team. Everyone signs in with their own email, sees the shared accounts beside their own, and keeps everything else private.
Plan: Pro or VIP, for everyone in the workspace: creating, inviting, sharing and accepting all need it. The 14 days of Pro every new user starts with include it.
Create a workspace
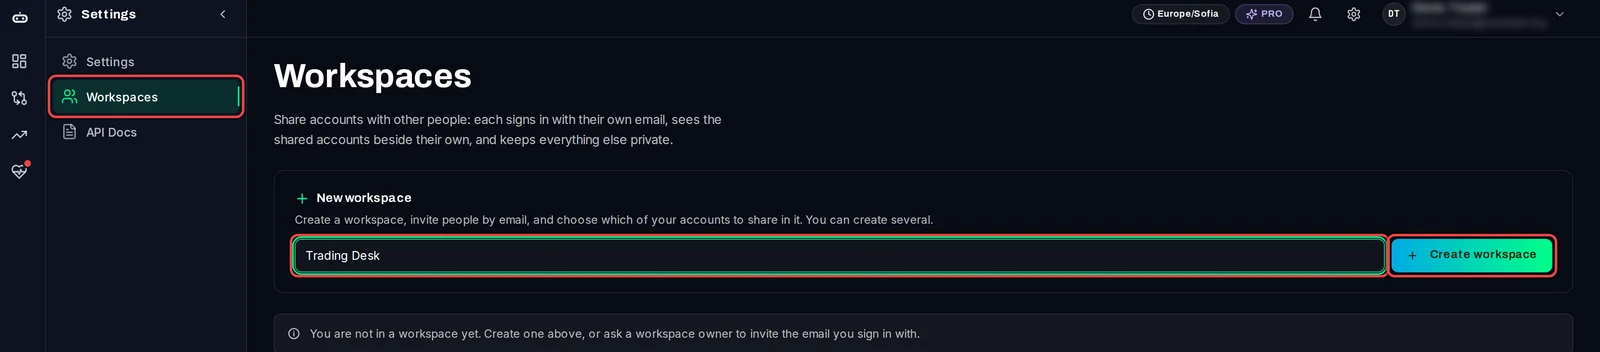
- In the menu, open Settings › Workspaces.
- Under New workspace, type a name, for example Trading Desk.
- Click Create workspace. You are its owner.
Invite people
- In the workspace's card, type the email the person signs in to the Account Tracker with.
- Choose the role: Member sees the shared accounts; Admin can also invite and remove members.
- Click Invite. They appear in the list as Invited.
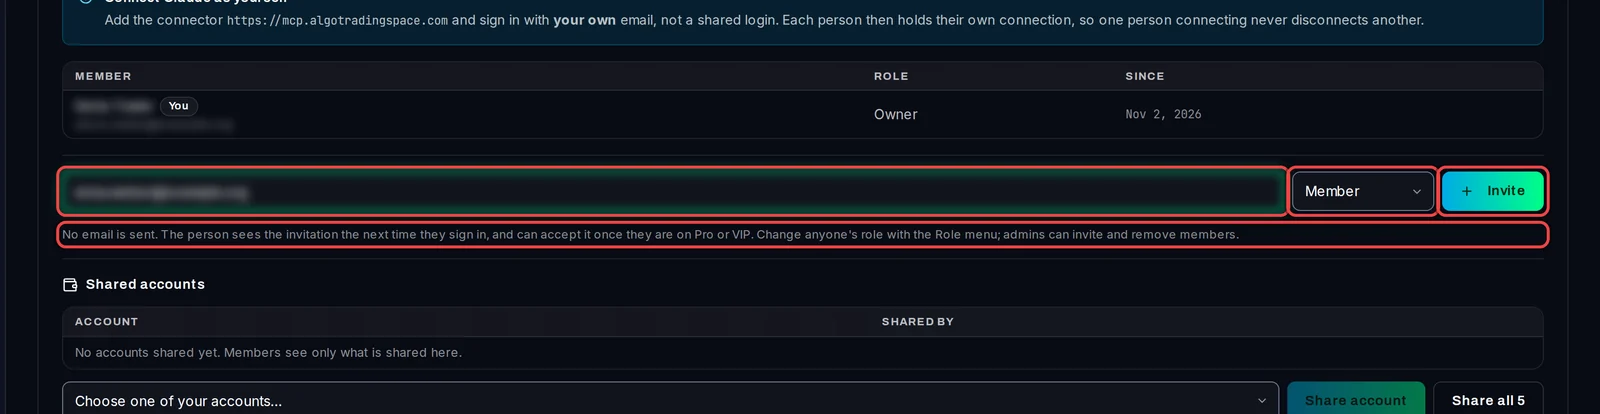
No email is sent. Tell the person yourself: the invitation waits for them the next time they sign in.
Share your accounts
- Under Shared accounts, open the menu Choose one of your accounts… and pick an account.
- Click Share account. To share every account at once, click Share all (it shows how many).
- To take an account back, click the bin icon (Stop sharing) on its row. Members stop seeing it at once.
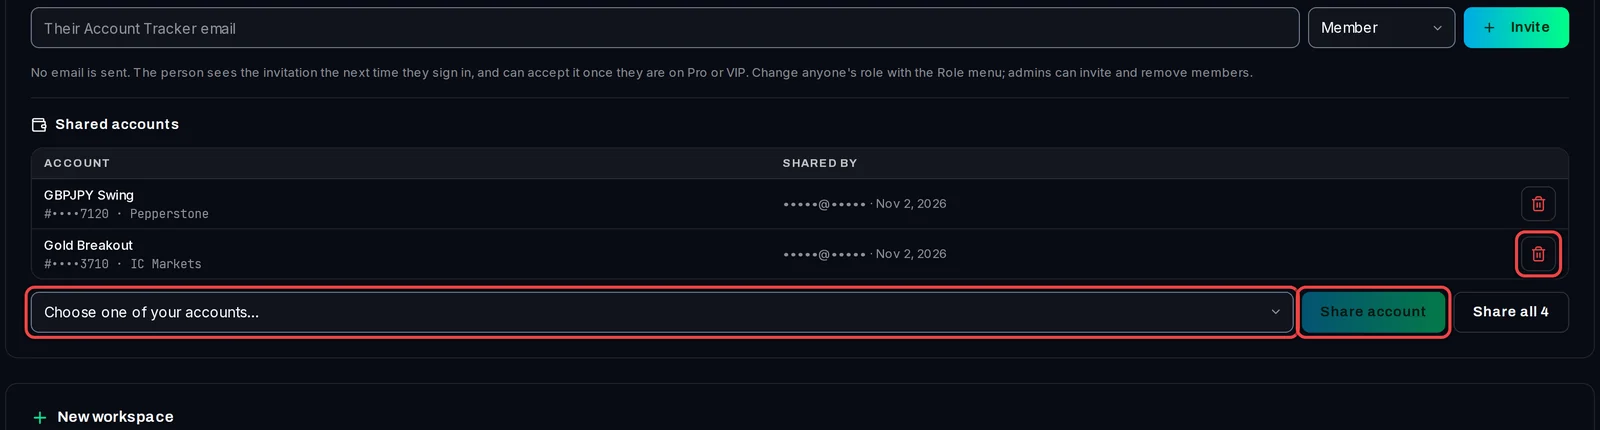
Every member can share their own accounts in the same way. The table shows who shared each one.
Find the shared accounts
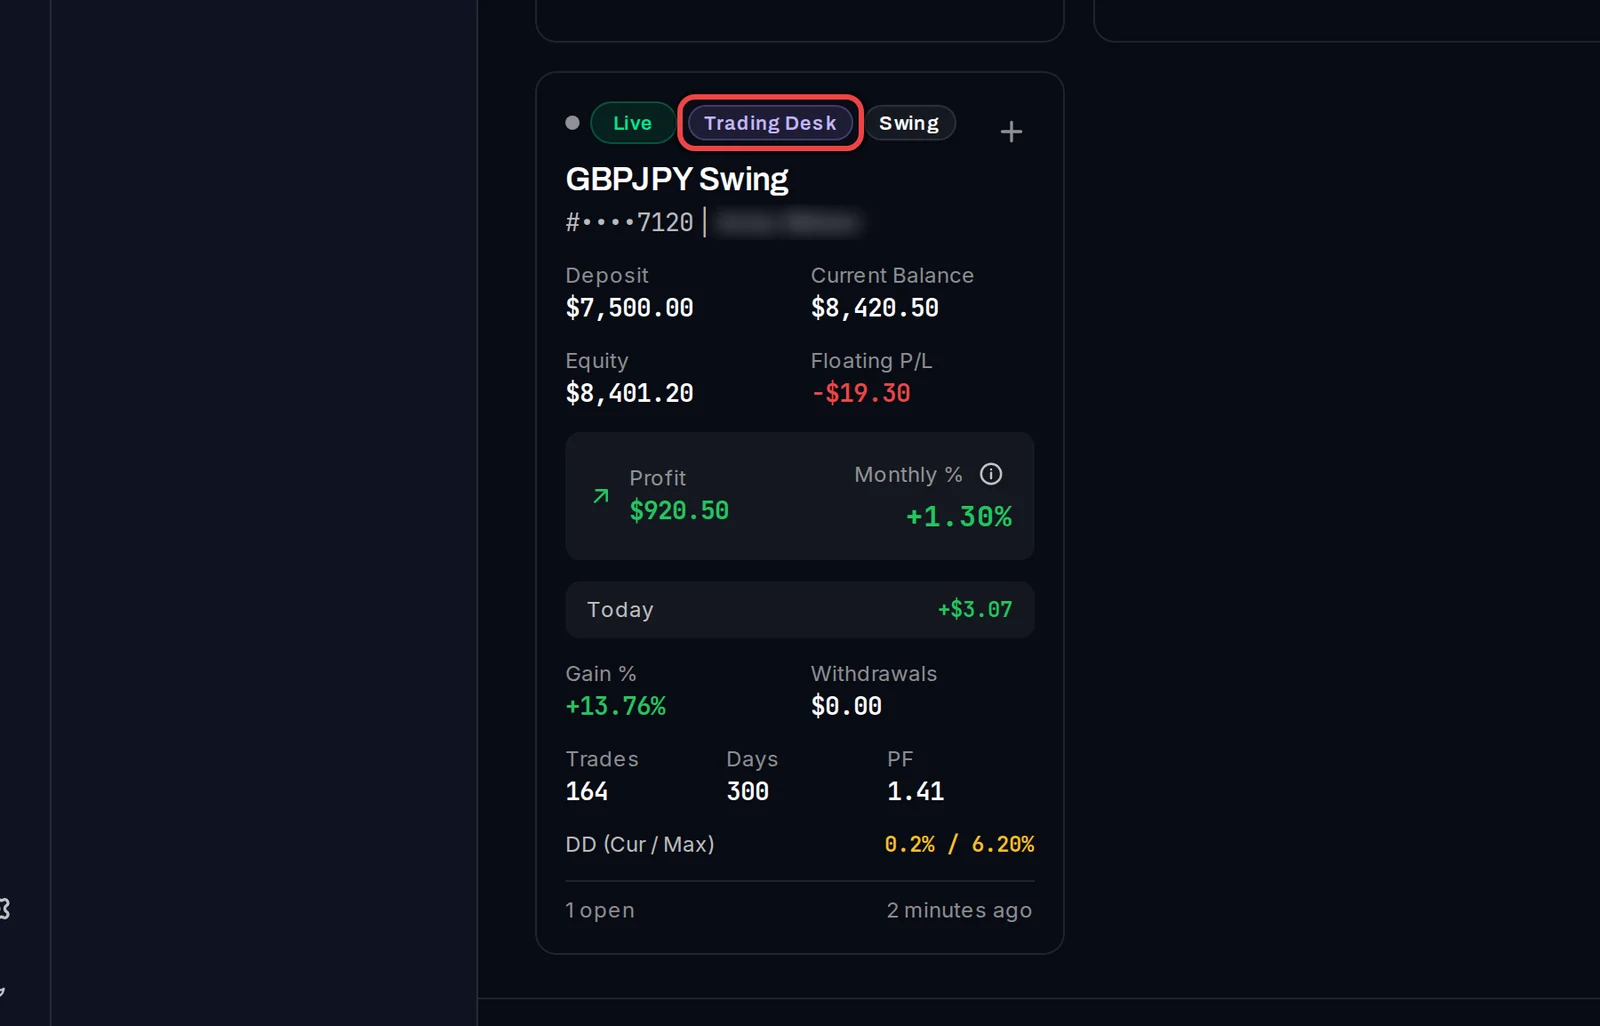
- On the Overview, an account shared with you carries a violet badge with the workspace's name.
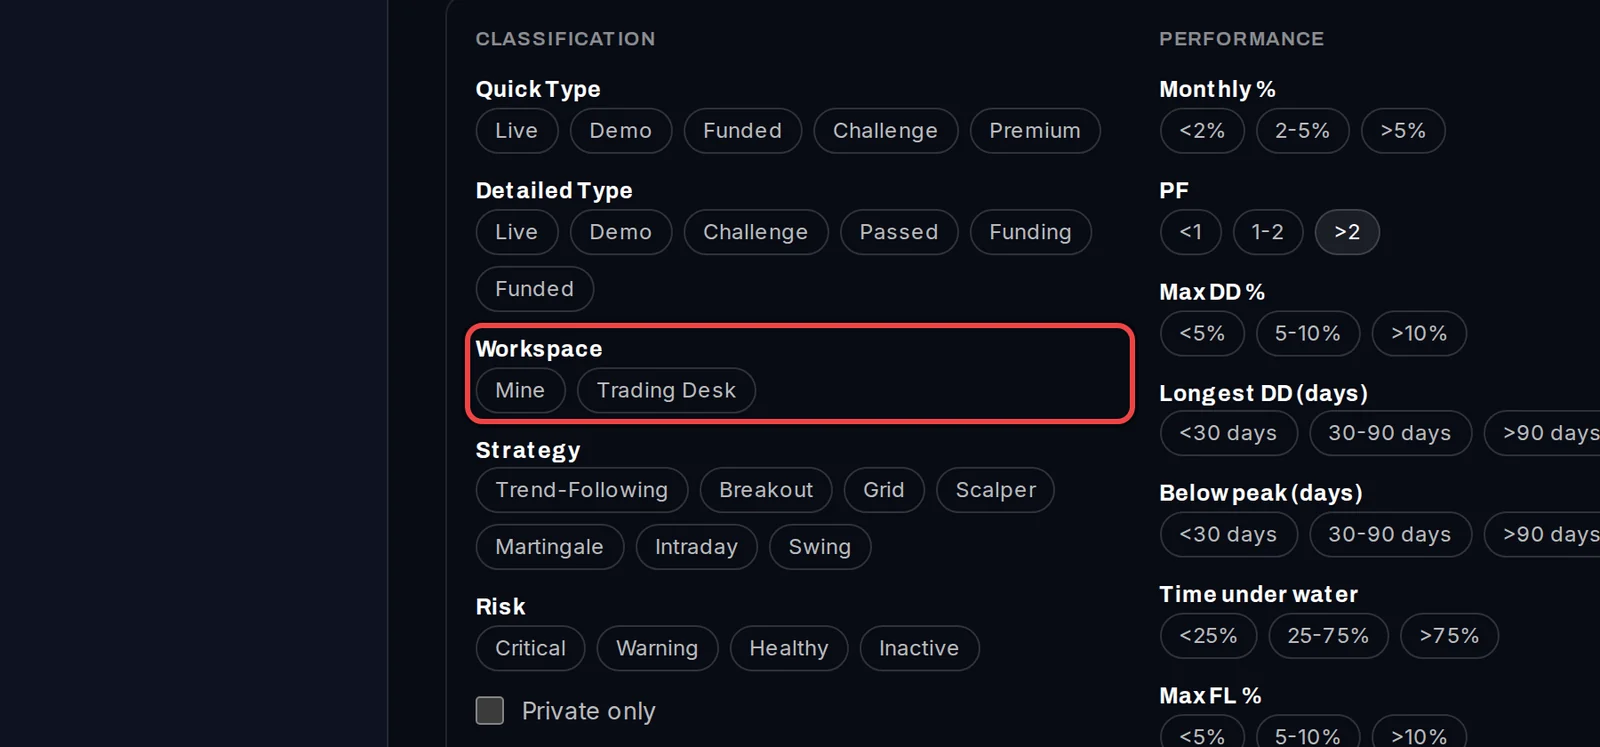
- To see only some accounts, click Filters and, under Workspace, choose Mine or the workspace's name. The filter is on every account list.
Accept an invitation
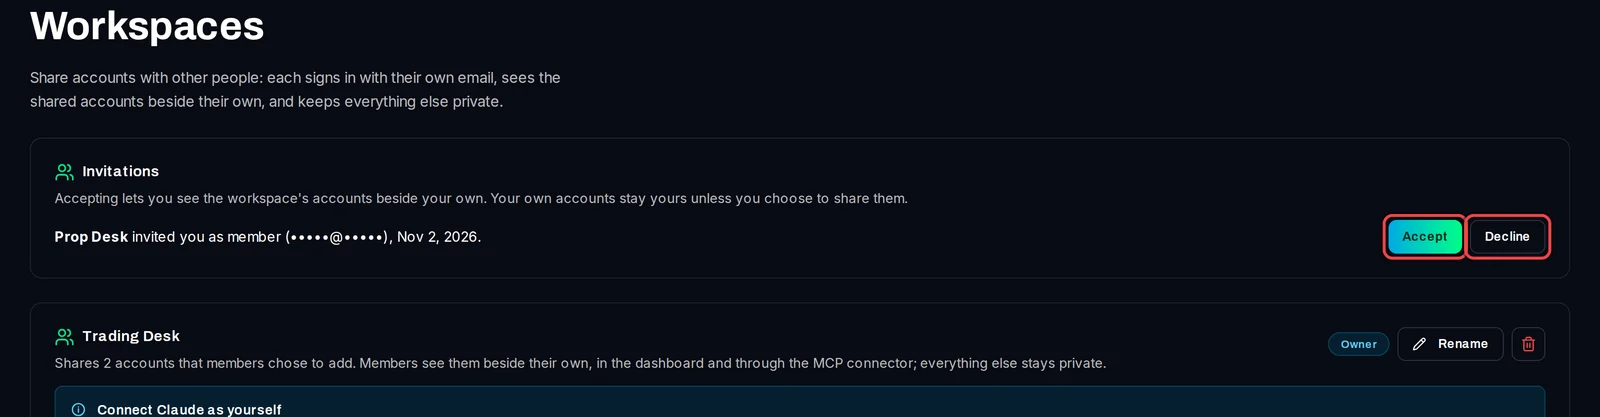
- When someone invites you, a notice at the top of the dashboard says You have been invited to join the workspace. Click Review invitation.
- Under Invitations, click Accept, or Decline if you don't want to join.
Good to know
- Each member needs their own Pro or VIP plan: one subscription is not shared. A member sees a shared account only while both they and its owner are on Pro or VIP. Leaving or declining works on any plan.
- Members can change a shared account's name, magic number labels, strategy types and challenge settings, but not its Start Date. Attaching a backtest stays with the owner.
- To leave a workspace, click the leave icon on your own row in its member list. Your own accounts are not affected.
- Each member can connect Claude with their own login and sees the workspace's accounts there too.